LINKS TO YOUTUBE 'BASICS' VIDEOS
based on my book "Teaching Through Stories: Jane and Jeremy Learn to Knit"
Casting on (the first thing you'll need to do):
Knitting (the first thing I teach):
Knitting and measuring a square:
Casting off or Binding off:
Completing the Bunny
The best, no-slobber way to thread a needle!
A great first project from the book:
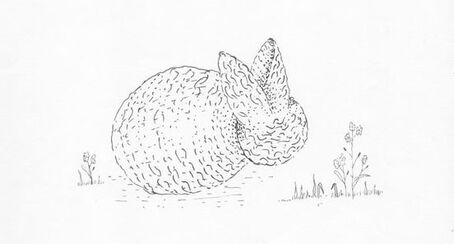
Jane and Jeremy’s First Bunny

You will need:
• one pair size 10 or 10½ needles
• about two ounces worsted yarn
• about two ounces wool stuffing
To Knit:
This is knit as one square, and is a very forgiving first project for a new knitter.
Cast on 16 stitches.
Knit in garter stitch until the piece is square. Check this by folding in half diagonally to make
an even triangle. A few more rows are better than too few. It is hard to be exact because the
children’s first knitting will vary so much. Not to worry; the bunny will be loved just as much!
Cast off all stitches.
To Sew Up:
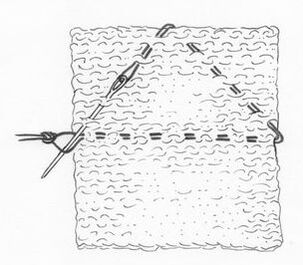
Using yarn of the same color, threaded into a yarn needle and with the ends knotted together,
approximately two or three rows above halfway between the cast-on and cast-off edges, sew a line of
running stitches from side to side. Continue with this thread to the center of the nearest edge (smallest
half); then return with running stitches to the knot and slide the needle into the loop made by the threads
just above the knot (see illustration above).
Slowly pull on the stitches; this will gather the triangle together, and if you insert your thumb into the
triangle (now you will see it is the bunny’s head), you can wiggle your thumb as you pull the gathering
stitches together to make the head and ears, and the bunny magically makes his/her appearance.
Stuff the head with wool; tighten the gathered stitches (so the “brains” don’t fall out!). Secure with a
lockstitch.
With the same yarn and needle, overcast the two side edges together, stuff this body firmly, and gather
the rear end together neatly. Secure with a lockstitch, and hide the end inside the bunny. Tuck in and hide
any other ends of yarn.
A great first purling project:
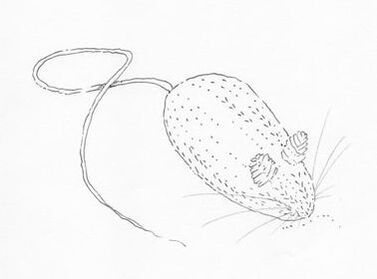
Jane and Jeremy’s First Mouse

You will need:
• one pair size 10 or 10½ needles
• around two ounces of bulky yarn in a mouse color
• approximately two ounces wool stuffing
To Knit:
Cast on 12 stitches.
Work 12 rows in stockinet stitch (knit rows 1, 3, 5, 7, 9, 11; purl rows 2, 4, 6, 8, 10, 12).
Next row: knit 2 together; knit to the end.
Next row: purl 2 together; purl to the end.
Repeat these last 2 rows until there are only 4 stitches left.
Break yarn and gather the stitches; sew and stuff. The yarn end becomes the tail.
Ears:
Position the ears a little further forward than you would have thought.
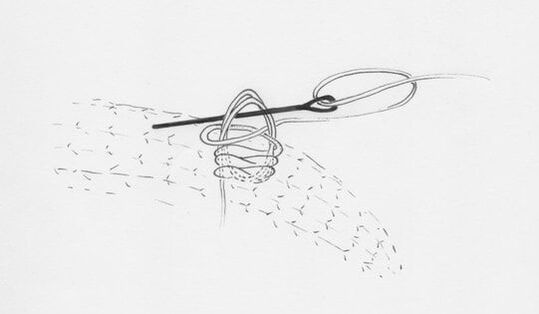
For each ear: make two loops in the same place over an adult pinkie finger or a child’s finger. With the remaining yarn, weave around the sides of the loop in the shape of a figure eight until the loop is full and the right shape. Draw the tail of the yarn down through the ear, and bury it inside the mouse.
Repeat for the other ear.


